

DIY Drop-In Sewing Table Hack
I found a cute table at a flea market, and I just loved how quirky it was. It has crooked legs, a banged up and dented top, with paint splatters and cracks from the screws. I think that’s why I was so drawn to it – it has a workshop feel. I could do anything with/to this table and I wouldn’t feel like I ruined it. I’ve been using it as my sewing table for about a year now (since we’ve moved into the new house) and I really needed to improve it to be able to quilt bigger quilts with my domestic machine.
This table had to get hacked!

Here’s how I did it:
(I must warn you – I am not a wood worker.) I only recently picked up the power tools and put on the safety goggles, so bear with me. I will tell you this though – If I can do it with the little help of my 3.5 year old daughter, anyone can do it! I hope this inspires you to look at power tools a different way. Like Rosie the Riveter would say, “We can do it!”

Supplies:
- wooden table
- sewing machine (and measurements of the base of the machine)
- marking pen
- jigsaw and all-purpose semi-fine blade
- sander and 50 or 80 grit sandpaper
- drill and drill bit
- wood screws – I used was 3 inch long screws; but this is unique to each job
- wood glue
- a 2 x 4 piece of wood that is the length of your machine plus 6 inches or more. This will be the base that your machine sits on.
Step 1: Know what you’re working with. Check underneath the table and see what obstacles you might face. You may need to adjust your sewing machine placement accordingly.

Step 2: Mark your shape. Remove your machine’s sewing table (if you have one) and use your marking pen to trace 1/4″ around the base of your machine.

Step 3: Cutting. Drill a hole into the table inside your marked space using your drill and drill bit – the largest drill bit in your tool box should do the trick. Make sure the hole is big enough for the blade of your jigsaw to fit through.

Step 4: Double check the size of your marking and cut along the line using your jigsaw. Make sure your machine fits through the opening with enough room for cords that might need to be plugged in to the sides. I left an extra inch of room.


Step 5: Sand your edges. You can do this part by hand if you don’t have access to an electric sander. Sand until there are no sharp edges.
Step 6: Assess the bottom. First, go to your machine and measure the depth from the sewing surface to the bottom of the machine. If you have a sewing table that came with your machine measure from the bottom of the sewing table to the bottom of the machine. This is the depth that you will want to drop your machine into your table opening. Cut wood to give you this depth. Example: my depth was 3 inches. The table top itself as 1 inch thick so I needed to add on 2 inches to the bottom of the table to give me the depth I needed.

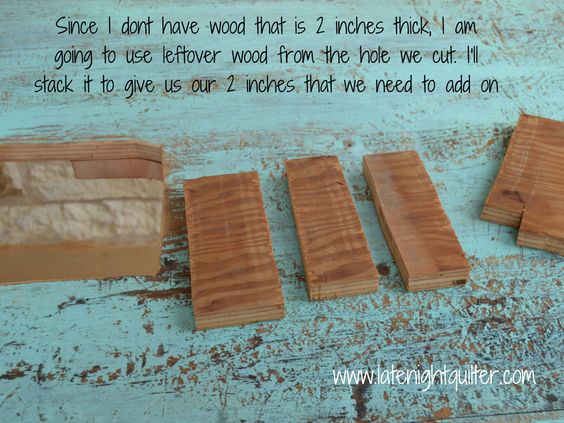
Step 7: Glue and screw. Stack your wood pieces and secure with glue in between each layer. Ideally it would be just one piece of wood the size you need but in this case I’m working with what I have on hand. I wouldn’t suggest stacking more then 2 pieces of wood. Stack and glue your base 2×4 across this gap and secure with wood screws. Make sure the screws are long enough to go through each layer of wood without going through the top layer. I used 3 inch wood screws.


Step 8: Check the fitting. Make sure the machine sits inside the opening and that sewing surface is at the desired height.
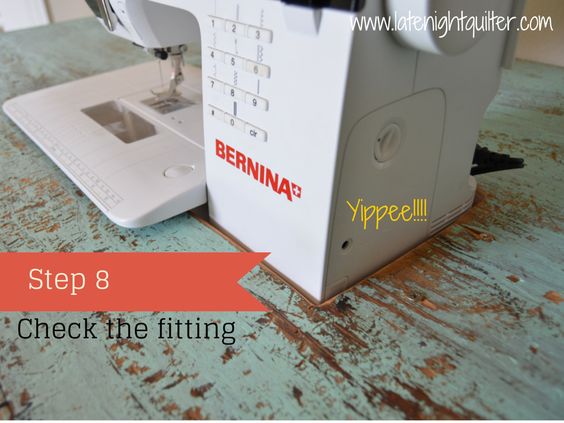
Step 9: Revel in your handiwork!

