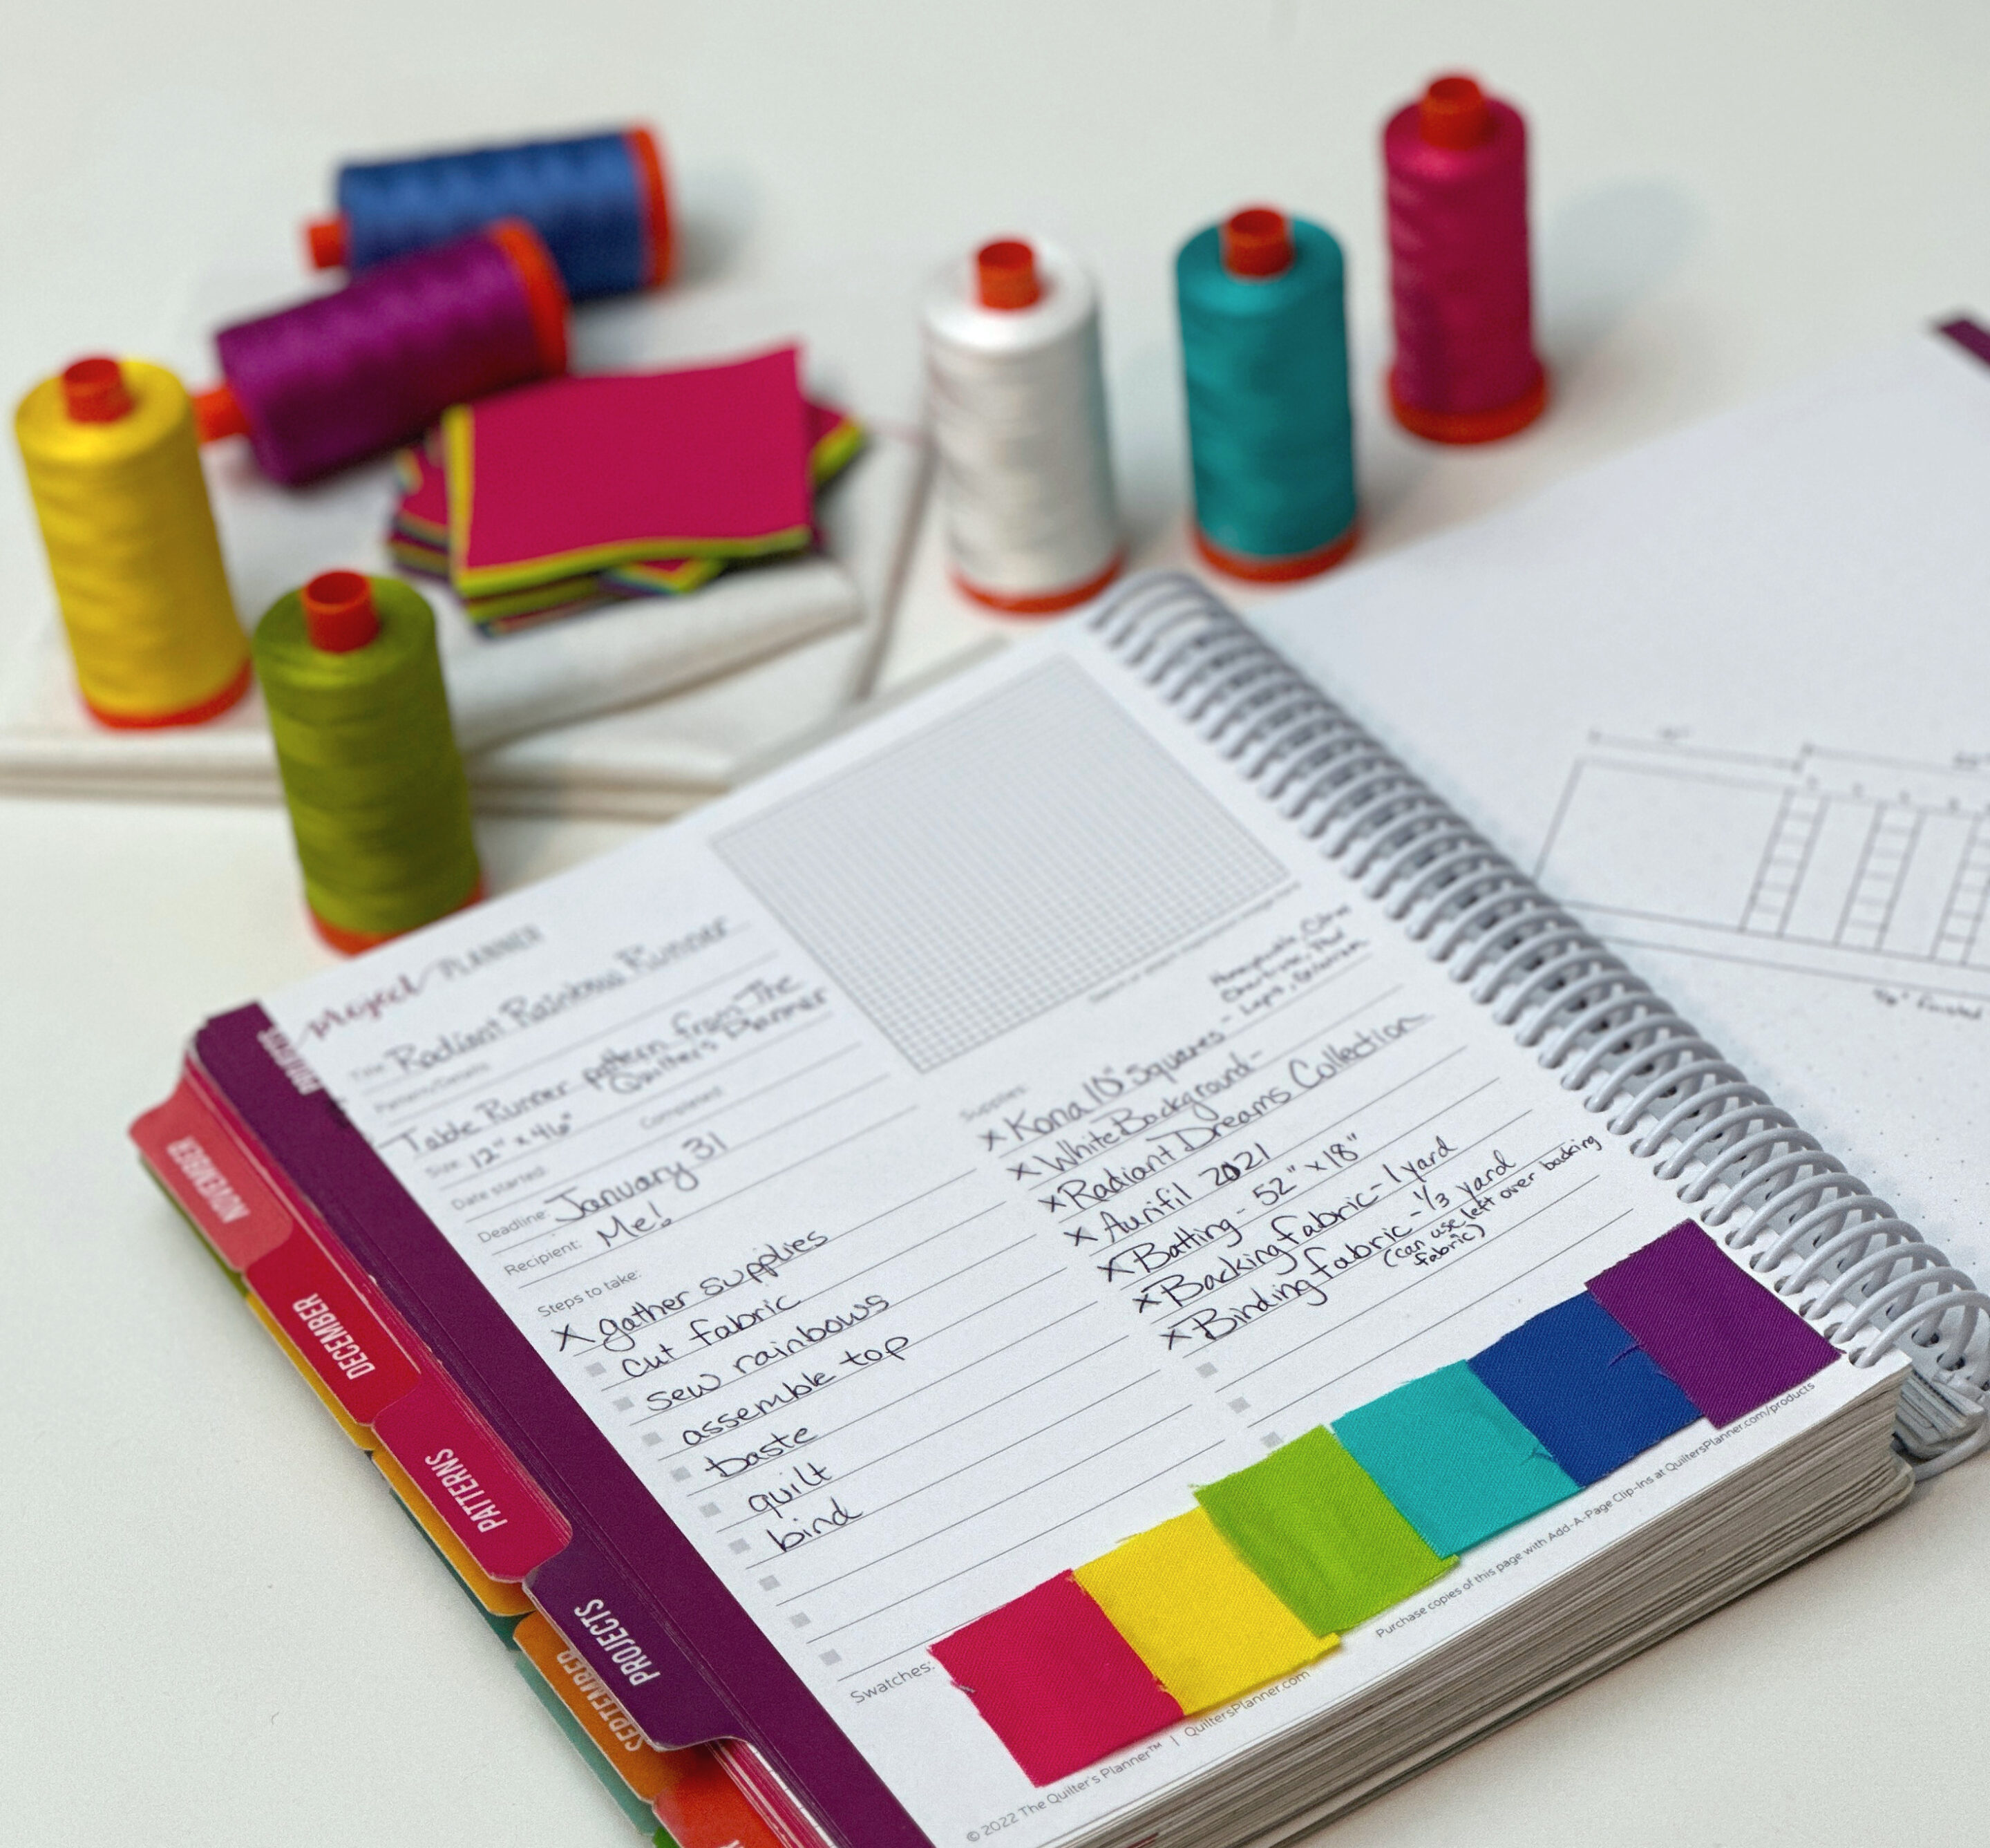
This time of year, it can feel like winter is dragging on, and we find ourselves dreaming of sunnier days! To brighten up our surroundings, we created this fun rainbow table runner using some Kona Solids and our Radiant Dreams Aurifil collection. The quilting on this runner creates a cool phantom rainbow effect, which is more apparent the heavier you quilt it. Here is a quick tutorial for how to complete this super easy project.

Radiant Rainbow Table Runner
By The Quilter’s Planner
- Finished size: 12½” x 46½”
- Pattern notes: Width of Fabric (WOF) is assumed to be at least 40″.
- All seams ¼” throughout. Press all seams open.
- Fabrics used: Kona Cotton Solids in Honeysuckle, Citrus, Chartreuse, Pool, Lapis, Geranium, and White
- Skill Level: Beginner Friendly

Supplies
Rainbow squares — Fat Eighth (F8) or 10″ square of each of the following Kona Cotton Solids:
Honeysuckle, Citrus, Chartreuse, Pool, Lapis, Geranium
Background — ⅜ yard Kona Cotton Solids in White
Backing fabric — 1 yard
Binding —⅓ yard (or remaining backing fabric after cutting)
Batting — 18″ X 52″
Radiant Dreams Aurifil collection
Aurifil 2021 (Natural White)
Cutting
From each color F8, cut (5) 2 ½” squares
From white Background fabric, cut (1) 12 ½” x WOF strip
Subcut into (2) 12 ½” squares and (4) 12 ½” x 3 ½” rectangles
From Binding fabric, cut (4) 2 ½” x WOF strips

Assembly Instructions
1. Select 1 of each color from your 2 ½” squares. Sew them together in the following order: Honeysuckle, Citrus, Chartreuse, Pool, Lapis, Geranium. Press seams open. Repeat to make (5) 12 ½” x 2 ½” Rainbow Strip units.

2. Sew the (5) 12 ½” x 2 ½” Rainbow Strip units and (4) 12 ½” x 3 ½” Background rectangles together, starting with a Rainbow Strip unit and alternating them with the Background 12 ½” x 3 ½ rectangles to make a 12 ½” x 22 ½” Center unit. Press seams open.
Note: Be careful on this step that all Rainbow Strip units are facing the same direction so your rainbow lines up!
3. Sew a Background 12 ½” square to one end of the Center unit. Repeat on the other side and press both seams open to complete your 12 ½” x 46 ½” Radiant Rainbow Table Runner top.
Finishing
- Cut the Backing fabric into (2) 18″ x WOF strips. Trim selvedges and sew backing strips together along the short edge. Press seam open. Trim to 18″ X 52″, reserving the remaining backing fabric for binding if desired.
Note: If your fabric cut is slightly off grain or you are just short of a yard, it will be ok to cut the backing pieces slightly narrower than 18″.
2. Layer the backing, batting and runner top. Baste as desired.
3. Use Aurifil 2120 (Natural White) to stitch in the ditch along each edge of the Rainbow Strip units. This will help reduce distortion while completing the rainbow quilting.

4. Using a long ruler and hera marker, mark lines along the length of the runner, separating each color of the rainbow into its own section. Within each color section, quilt long lines with the corresponding Aurifil thread color, separating quilting lines by approximately ⅛” to ¼”.


Note: Don’t worry about perfect lines on this step- they look better when they move around a little bit!
5. Trim the backing and batting even with the runner top.
6. Join the (4) 2 ½” x WOF binding strips into one continuous strip. Mitering corners and joining ends, machine stitch the binding to the quilt, then finish with your preferred method.

